How To Use Wix: Step-by-Step Tutorial


Thanks to website builders like Wix, it's remarkably easy to create your own site. These platforms are especially popular among those who don't have experience with programming and design. However, just because website builders don't require any coding skills doesn't mean that they're 100% foolproof. Even intuitive modular systems take some practice if you want to get the most out of them.
Website builders often have convenient drag-and-drop interfaces and offer support if problems arise. Nevertheless, you're still responsible for designing and managing the entire project yourself, which includes the use of templates, and the integration of widgets, blogs, and online stores. In this easy step-by-step guide, we'll show you, with screenshots, how you can publish your own website using Wix.


9 Steps to a Wix Website
While each Wix project is unique, a few steps in the process are always the same:
Create a Wix Account
Start by creating a Wix account. Simply visit Wix's website* and click on Get Started to sign up.
Since a free version of Wix is available, you won't need to provide any payment details just yet. In fact, you can try Wix without any financial obligation and even publish a website with a Wix domain at no cost.
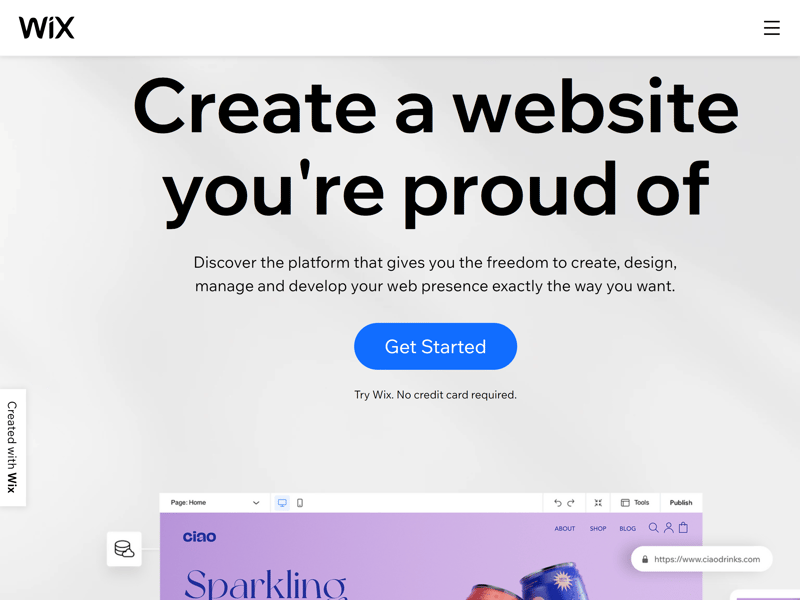
You'll need a Wix account to get started.
Once you've created your Wix account, you'll be asked a few questions about your website project. Once finished, you'll land directly on the website creation page, which you can return to at any time from the Wix dashboard by clicking on + Create New Site. From there, you can specify which type of website you want to build and choose which features and sections you want to add in advance.
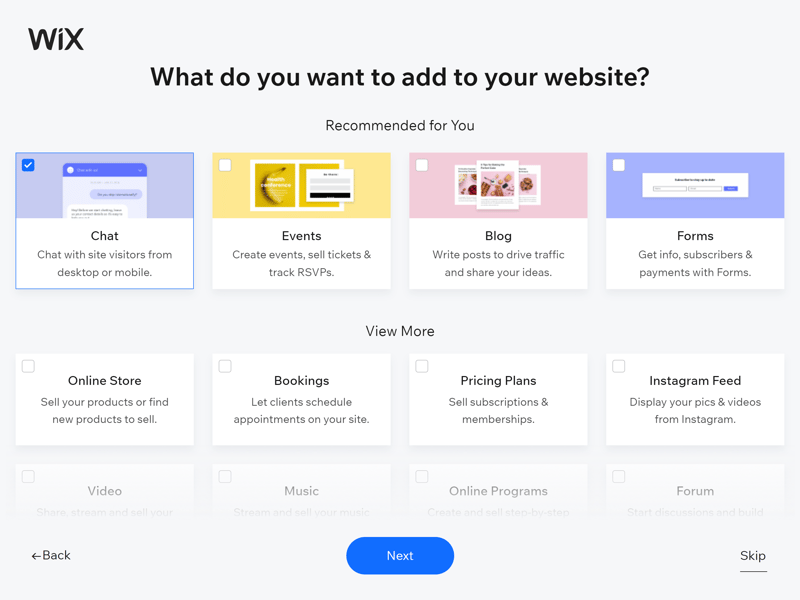
Even before selecting a template, you can specify which features you'd like your website to have.
Wix then asks an important question, namely, whether you'd like to use its standard editor or the AI-driven ADI editor.
Choosing a Wix Editor — Classic vs. ADI
The editor you select determines where you go from here. Below, we've briefly introduced both options:
ADI Editor — Ultra-Simplified for Beginners
Wix's Artificial Design Intelligence (ADI) editor automates the entire website creation experience, making it a suitable option for beginners. Simply answer a few questions about your business and specify your design preferences, and the ADI engine automatically creates templates for you.
Thanks to pre-defined pages and sections, the ADI editor makes the remaining website design process almost entirely foolproof.
Wix's ADI editor is intended for absolute beginners and those whose websites don't require much customization.
Wix Editor — Enhanced Flexibility and Customization
While the ADI editor is a practical solution for absolute beginners, it offers little flexibility and customization—even by website builder standards. For this reason, we recommend that users, even if less experienced, take advantage of Wix's regular editor, which includes far more features than its AI counterpart. The rest of this step-by-step guide will focus on Wix's regular editor.
Wix's regular editor offers far more features and possibilities.
Choose a Template
Once you've selected Wix's regular editor, you'll be directed to the template selection page. There you can choose a design for your website from over 800 templates. Your choice determines the basic layout of your website, however, the template can be customized in the steps that follow.
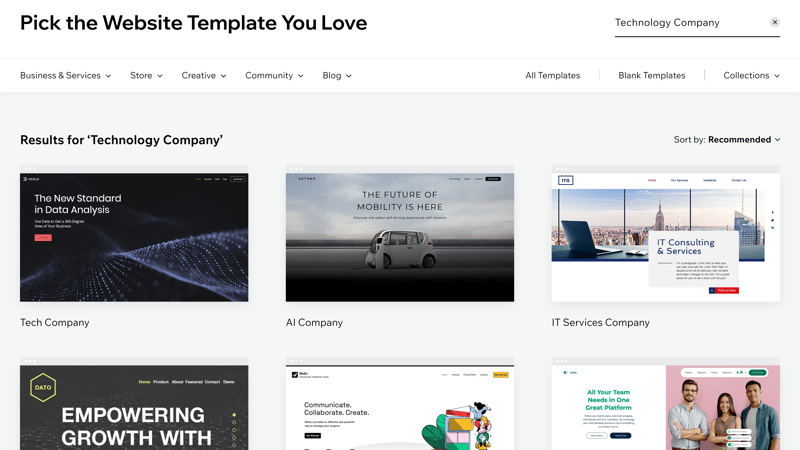
Wix offers a selection of over 800 templates, organized by category.
Wix's templates are organized into various categories. Choose a template based on what branch your business is in and which features you want your site to have (e.g., a blog or online store). The better the template suits your needs, the less manual editing you'll need to do later on.
To view a live preview of a template, hover over it and click on View. With this, you'll have an idea of what your finished website could look like. Once you've settled on a template, click Edit.
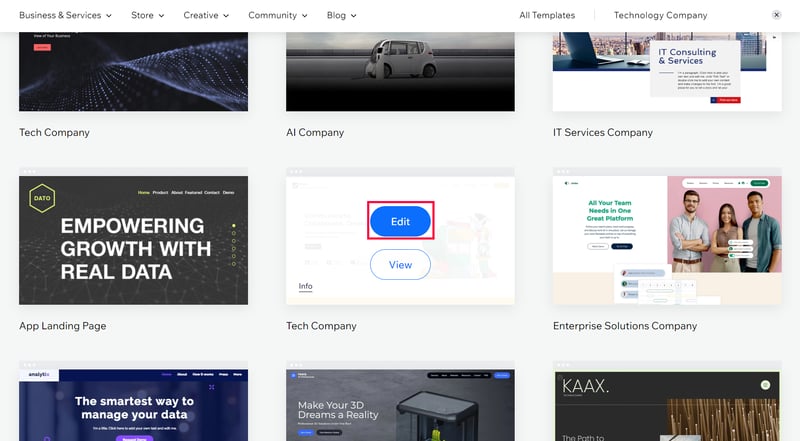
After you've found the perfect template, click on Edit to get started.
Next, wait a few moments while Wix prepares your page.
Edit the Template
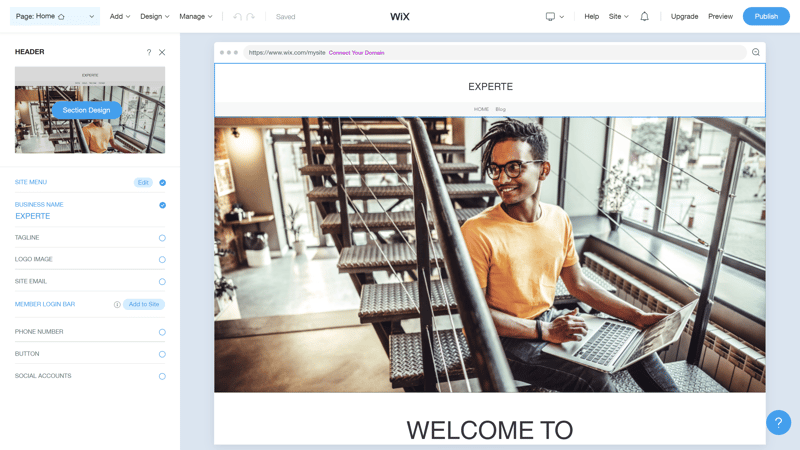
You can now customize the template using your web content (i.e. text and images). This is quite simple since Wix's templates are essentially ready-made websites with various subpages and placeholder content. If you really want to personalize your website, you can customize the design itself. To do this, go to Site Design in the left-hand menu.
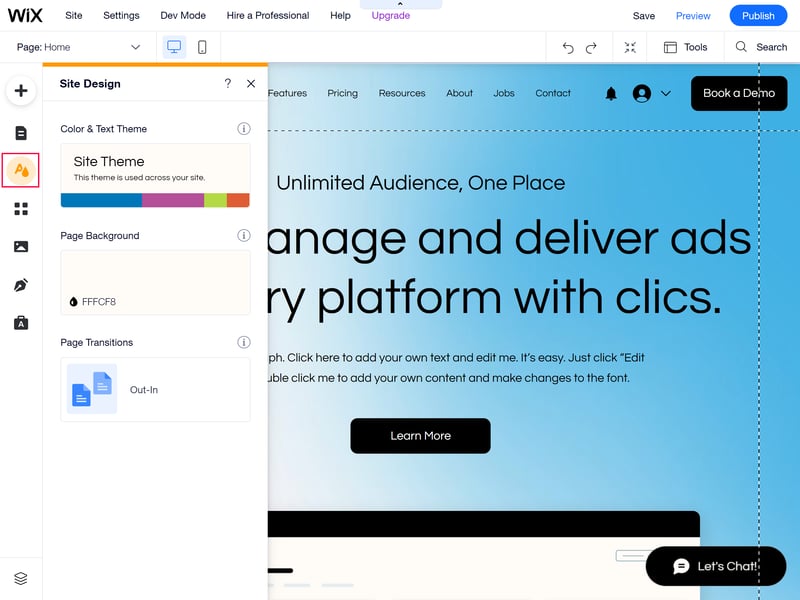
Wix allows you to customize your page's templates to your liking.
There, you'll find three options:
- 1.
Using Color & Text Theme, you can customize your website's color theme and text style. Here, it's possible to choose from the coordinated designs suggested by Wix or define the colors and fonts completely on your own.
- 2.
Under Page Background, you can select a color, image, or video background for your entire page. Just note that whatever you choose might be covered by the backgrounds belonging to the individual strips.
- 3.
With Page Transitions, you can select which animations (if any) should be played when visitors navigate to another page.
Wix allows you to continue editing your website's design as you make your way through the following steps.
Insert Pages & Navigation
Once you're satisfied with your website's design (which can be edited at any time), you can start creating the basic structure of your site. What should the navigation menu look like? How many pages do you need? Should there be subpages? Ideally, you'll have already chosen a template that largely meets your needs in this regard. However, you can manually edit the navigation menu and add new pages as needed.
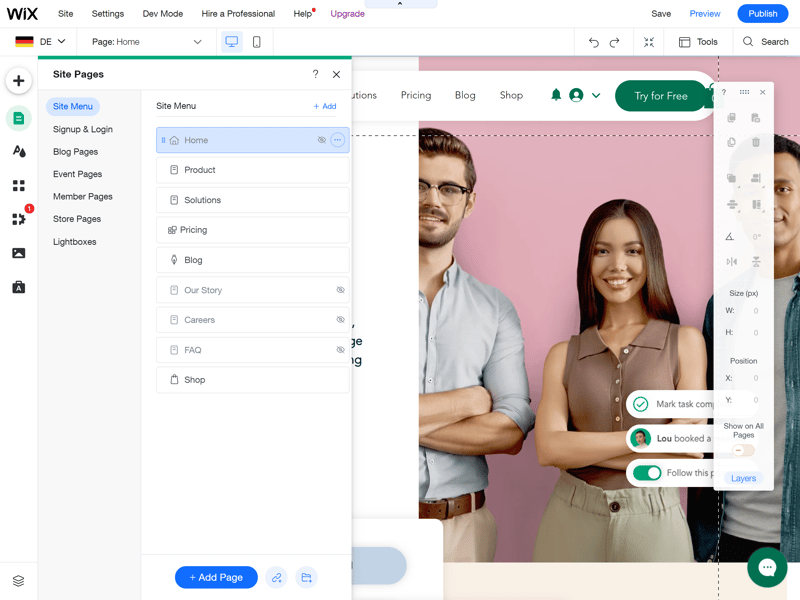
To edit your website's menu, click on the Site Pages section from the options on the left-hand side of your screen. From there, you can create a new page by clicking on + Add Page. Wix will then suggest various templates sorted by category.
For example, under Services, you'll find pages where you can present what your company has to offer, and under Contacts, a variety of contact forms. There's also an option to insert an empty page that you can edit entirely yourself.
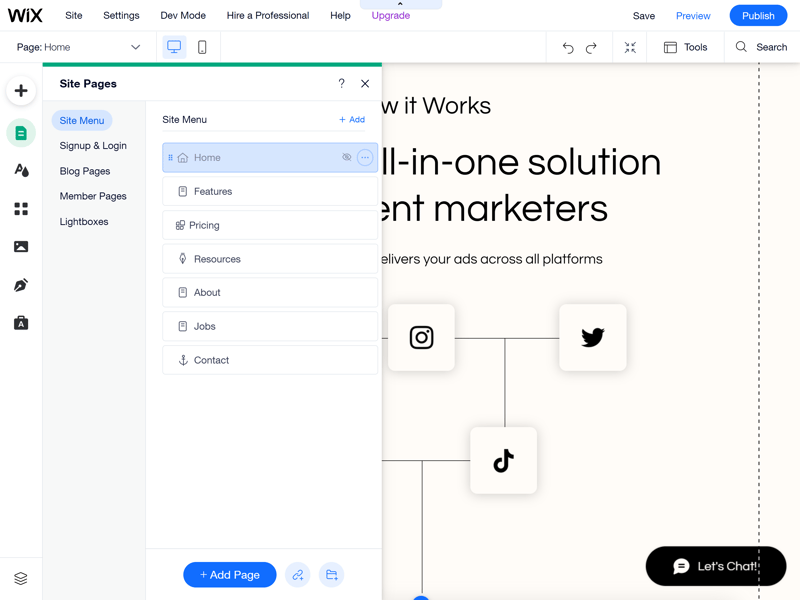
A good navigation menu is vital to a well-organized site.
You can arrange your menu items however you'd like in Wix's drag-and-drop interface. To turn a page into a submenu option, simply drag it to the right under the menu you'd like it to be subordinated to.
Wix also allows you to add links to other websites or documents to menu items. In addition, it's possible to add folders that aren't meant to be clicked on themselves, but that open various submenus when hovered over with a mouse.
About Us Page — For a Professional Website
An "About Us" page provides insight regarding your company, including your mission, history, and how people can get in touch with your business. In some European countries, contact data (as well as other information regarding your company) is required on all business websites. However, even if your government doesn't have laws requiring an About Us page, it's a good idea to include one; it will make your site more professional and help your customers become more familiar with your brand.
It's best to create a separate page for the About Us section and link to it in your site's footer.
Customize Your Text and Images
Once you've finished designing and creating the navigation for your website, it's time to fill it with content. The closer you stick to your template's original layout, the easier this step will be. For the most part, you can simply replace the template's images, headings, and text with your own.
Customize Your Text
To edit copy in Wix's editor, click on a text window and then on the Edit Text option that appears below it (or simply double-click the text you want to edit). While you can directly overwrite text in this window, to adjust font style or size, you'll need to work in the pop-up menu. In the same area, you'll find various effects as well as features to help with vertical text alignment. Settings for character and line spacing, as well as SEO and accessibility, are also included.

Replace the template's generic content with your own.
Edit Images
Editing images in your template is also quite easy. When you click on an image, a small drop-down menu will appear. To replace the image completely, select Change Image. You can upload images yourself or browse through stock photos from Wix, Shutterstock, or Unsplash. The platform includes options for cropping images or adding effects, animations, and frames.
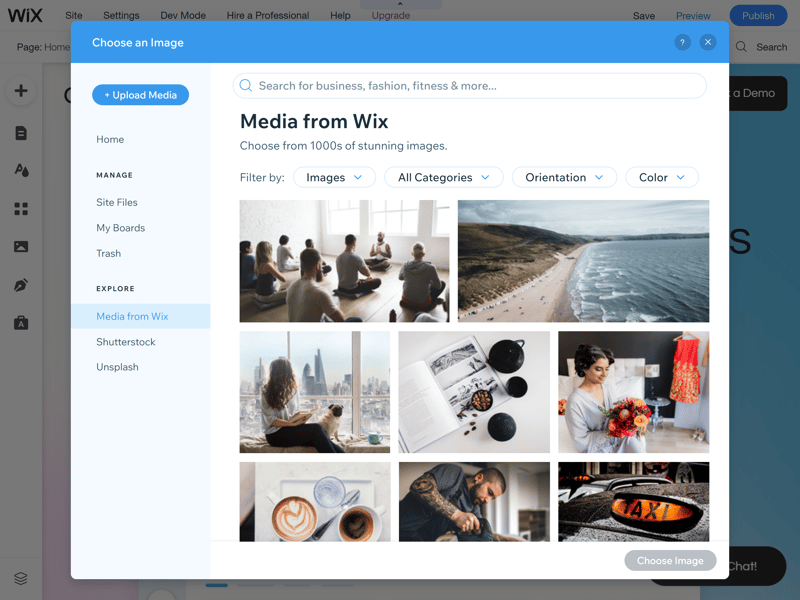
You can upload your own images or use embedded stock photos.
You may see other image elements on your page, such as strip or column backgrounds (we'll cover these in more detail in the next section). These background images can also be easily changed by selecting the strip or column and clicking on Change Strip Background or Change Column Background.
Add Strips & Columns
Strips are the different containers or sections used to structure your Wix website. Each page is made up of one or more strips, which can be divided into columns. Images, text, and content can be added to each section. Essentially, stips help to expand your page and adjust its layout to suit your needs.
There are two ways to add a new strip; you can either click on the plus sign that appears on your page between the existing strips, or on Add in the navigation menu on the left, followed by Strips. Here, you'll be able to choose between an empty strip that you can fill with content yourself, or pre-existing strips such as "About Us" sections or contact forms.
To add a strip to your website, simply drag and drop it to the desired location.

Strips are great for structuring your website.
Strips can also be divided into columns. Simply select the strip, click the Layout icon, and then Add Column.
Add Elements & Features
Of course, you aren't bound to your template's pre-existing content and can add many other elements to your pages. Wix offers an extensive array of options and features, divided into several categories. To browse through the available elements, click on Add in the navigation menu to the left.
There you'll find a variety of content ranging from simple elements like text, images, and buttons, to composite content blocks like forms, galleries, and ads. Elements for blogs and online stores can also be found here (more on this later in the "Additional Steps" section).
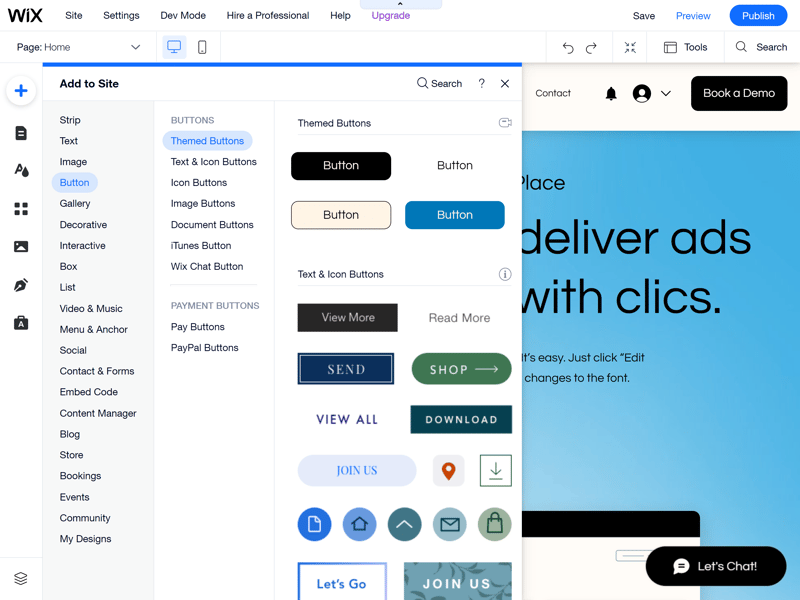
You can customize your website using a variety of different content elements.
Each element you add to your website can be edited, however, the customization options vary. Comprehensive tutorials for all Wix elements can be found in the platform's help center.
Publish Your Site
Once you've made all the necessary adjustments and you're happy with your site, all that's left to do is publish it; simply click on the Publish button in the top right corner.
You'll need a domain to publish your website. If you want to publish it for free, you can connect your website to a Wix domain. However, this option looks quite unprofessional, so we'd only recommend it for hobby projects.
If you want your website to make a professional impression, a unique domain name is a must. Wix offers a paid plan that includes a free domain name for the first year. Of course, if you already have a domain name, you can connect your new website to it.
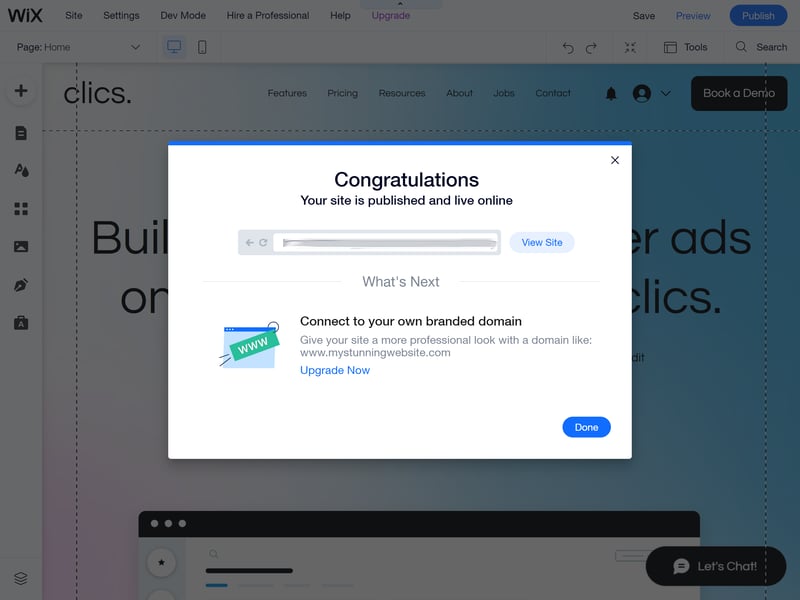
All that's left to do is publish your website.
Congratulations—your website is now public and can be visited by others via the world wide web! But your work is far from over; most websites require ongoing maintenance and should be updated regularly.
Additional Steps
So far, we've only covered the basic steps you'll need to follow before publishing your website. Wix offers many more features and options that are far beyond the scope of a single article. Nevertheless, we'll briefly explain some additional features that might be relevant to your site.
Add a Blog
Blogs are a vital component of many websites. Of course, if your site is a blog, you'll want to choose an appropriate template. On the other hand, if you'd like to add a blog to your webpage, it can be easily integrated into most templates.
Under the Site Pages menu, click on + Add Page and then Blog (this option is also found in the element categories under the Add menu). You can then specify whether you want to create a team blog or one with a member's area (this can also be customized later on).
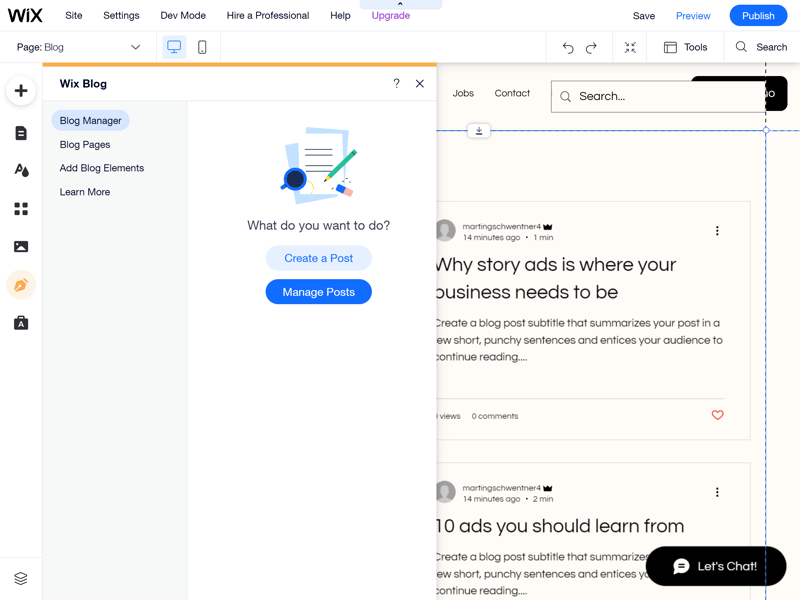
Adding a blog to your website only requires a few clicks.
The blog manager can be found in the navigation menu under Wix Blog. This is where you'll edit existing posts and create new ones.
Open an Online Store
It's easy to add an online store to your website, even if you didn't choose a dedicated ecommerce template. From the Add menu, simply click the Add to Site button under Store. After this, the Wix Stores module will be installed and you can start listing products.
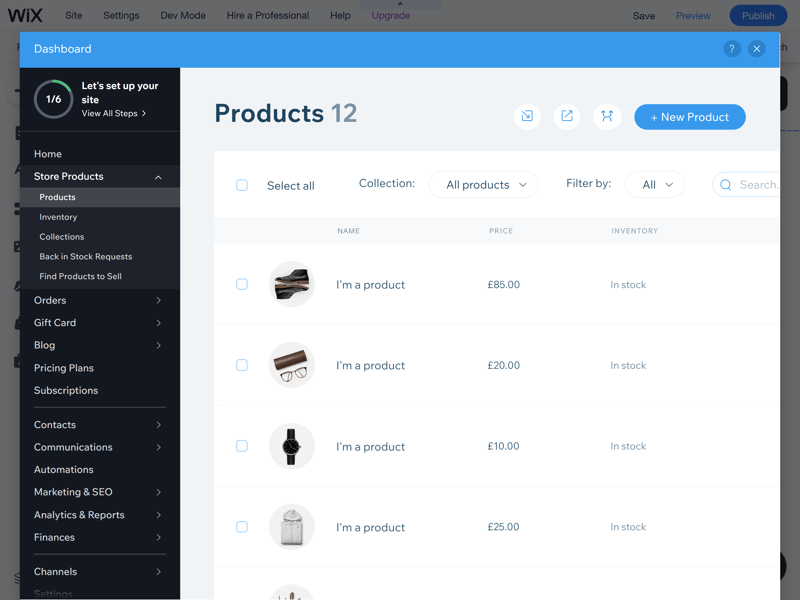
Product management will be the heart of your online store.
To find out how Wix performs in terms of ecommerce, be sure to check out our review. In it, you'll also learn more about how their product management program works.
Install Apps
If Wix's in-house resources aren't enough for your website or if you can't find certain features, it's worth taking a look at the App Market. You'll find it in the left-hand navigation menu under Add Apps. The App Market offers countless free and paid applications, divided into categories such as "Marketing", "Services", and "Design Elements". There's also a search function to help you locate exactly what you need.
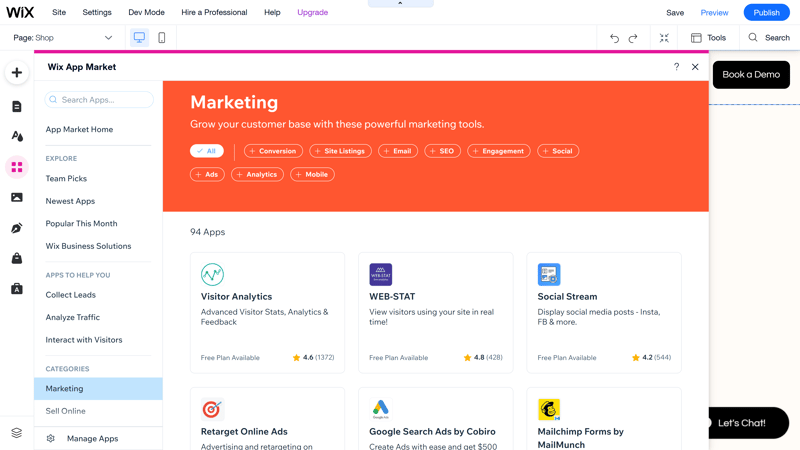
Wix's App Market offers a wide and diverse selection of third-party applications.
Once you've found the right app, open the details page and click Add. A pop-up window will explain what features the app adds to your site. Simply confirm the selection and the application will be available immediately.
Conclusion
Wix is a user-friendly website builder that helps you design and publish a website without any prior knowledge of coding or design. It may take a few weeks to master all of Wix's features, however, the basics are quite simple to grasp.
Creating your own website is even easier with Wix's ADI editor, which practically automates the entire process. However, you can find your way around the regular editor as well, especially with the help of our step-by-step guide.
Is Wix not the right platform for you? We looked at 9 other providers in our website builder review, as well as the leading Wix alternatives to help you decide which service best meets your needs.