Are you working remotely? For security reasons, you most likely have to connect to your company's intranet to complete certain tasks. A virtual private network (VPN) makes this, and a lot more possible. With a VPN, you can safely connect to networks that are far away, surf anonymously, and even circumvent geo-blocking. Below, we'll show you how to set up such a connection in Windows 10.
Why Should You Use a VPN on Your Windows PC?
VPN connections are like encrypted tunnels between two networks. Generally speaking, they are used for two main purposes:
- 1.
Connecting to a remote network. For example, if you're working from home and need to connect to your company's intranet, or if you're on vacation and want to access something on your home network (such as a smart appliance). As a Windows user, you don't need any additional software to create this kind of connection, since everything is already built into your operating system.
- 2.
Enhanced anonymity when surfing, and the ability to bypass geo-blocking. When you want to stream videos, or access a blocked website or service (such as Google in China), VPNs make it possible. To utilize a VPN for this, you'll need a third-party provider.
Below, we'll show you how to set up both.
Create a VPN Using Windows
Creating a VPN connection in Windows only requires a few simple steps.
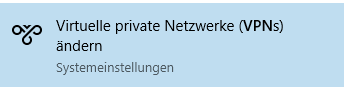
1) Click on the search bar and type "VPN".

2) The first result should be "Change a virtual private network (VPN)". Click on it.
Alternatively, you can also find this manually in System Settings.
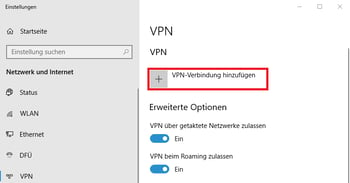
3) In the window that opens, click the "+" symbol with "Add a VPN connection" written next to it.
4) For the VPN provider, select Windows (integrated).
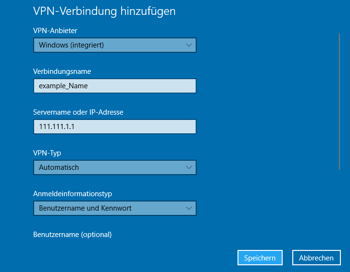
5) For the Connection Name, enter a name of your choice (Hint: Select a name that relates to its purpose or location).
6) Finally, specify the type of connection (PPTP, L2TP, etc.), server address, a username, and a password.
Your server admin (or your VPN provider, see below) can supply you with all of the above information.
7) Save your settings.
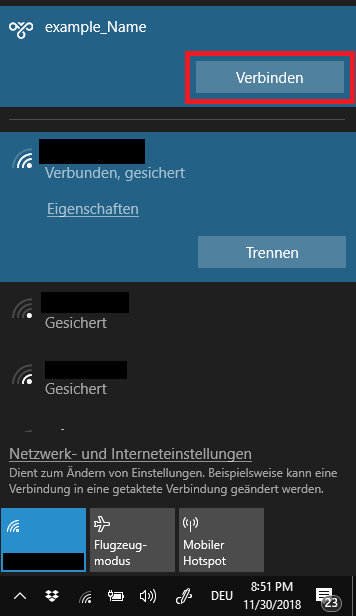
8) Open the network overview.

9) You should see VPN Connections at the top. Select the desired connection (and if necessary, input your username and password).
Congratulations! You have successfully created and connected to a VPN.
Anonymous Surfing with VPN Software in Windows
If you want to bypass geo-blocking or surf the web anonymously, creating a VPN connection is even simpler. VPN providers offer applications for Windows with which you can select and connect to servers all over the world at the push of a button.
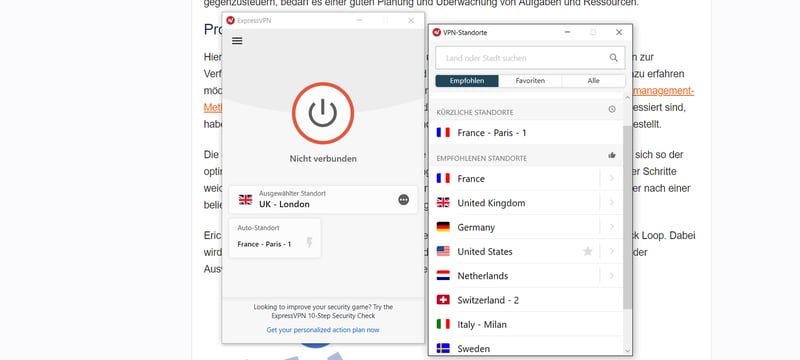
ExpressVPN's Windows app
Most VPNs are subscription-based, however, there are some freemium options. With the latter, you'll need to accept fewer features, data limits, and restrictions on the number of available servers. In addition, we are not aware of any freemium VPNs that allow users to stream video content.
The basic features each VPN offers are identical, however, the extras they include can vary. Since streaming services like Netflix are becoming better and better at sniffing out users on VPNs, some providers have begun to offer dedicated streaming servers.
Split tunneling is another feature to keep an eye out for. This allows you to control which apps connect to the Internet through your VPN. For parallel downloading and streaming, this is extremely handy.
In our EXPERTE.com VPN reviews, we put 27 leading services to the test, evaluating them in 8 areas. Below, you can see our Top 5: