WordPress without plugins is like a pizza without toppings: Good, but not great. Thanks to its extensions, the content management system (CMS) can be tailored to your exact specifications and needs, adding capabilities that WordPress otherwise wouldn't have.
A huge selection of plugins exists, with something for nearly every purpose, whether SEO, security, performance, or backups. But, before you can start taking advantage of these, you'll need to install them. Below, we'll show you the easiest ways to do that.
Install WordPress Plugins: 3 Options
There are several different ways to install WordPress plugins. Some are more for beginners, while others can be slightly complicated. Deciding which works best for you depends on what plugins it is that you want to add.
Below, we've prepared step-by-step guides for the three most common installation methods:
Install WordPress Plugins in Your WordPress Dashboard (Easy)
The simplest way to install a WordPress plugin happens entirely in your WordPress dashboard. There, you'll have access to a huge selection of free plugins all of which can be installed and activated with a few clicks.
Step 1: Head to your WordPress page (www.[URL of your website].com/wp-admin) and log in with your username and password.
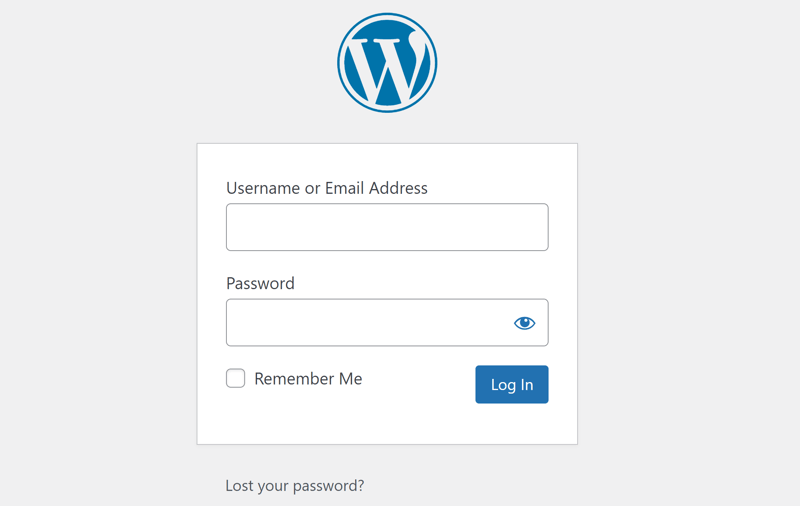
First, you'll need to log in to your website's WordPress dashboard.
Step 2: Look for Plugins (electrical plug icon) in the menu to the left and scroll over it. In the sub-menu that opens, you can either click on Add New to directly install a new plugin, or on Plugins and then Add New near the top.
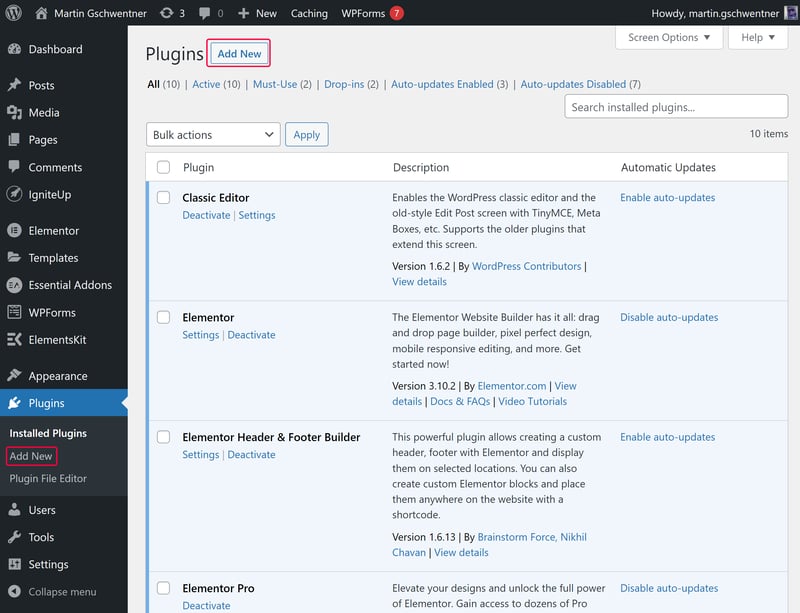
Click on the Add New button to open the WordPress plugin area.
Step 3: Welcome to WordPress's plugin marketplace. Here, you can sort plugins by category (such as popularity or favorites) or find whatever you're looking for using the search tool.
Step 4: After you've selected a plugin, click on the Install Now button.
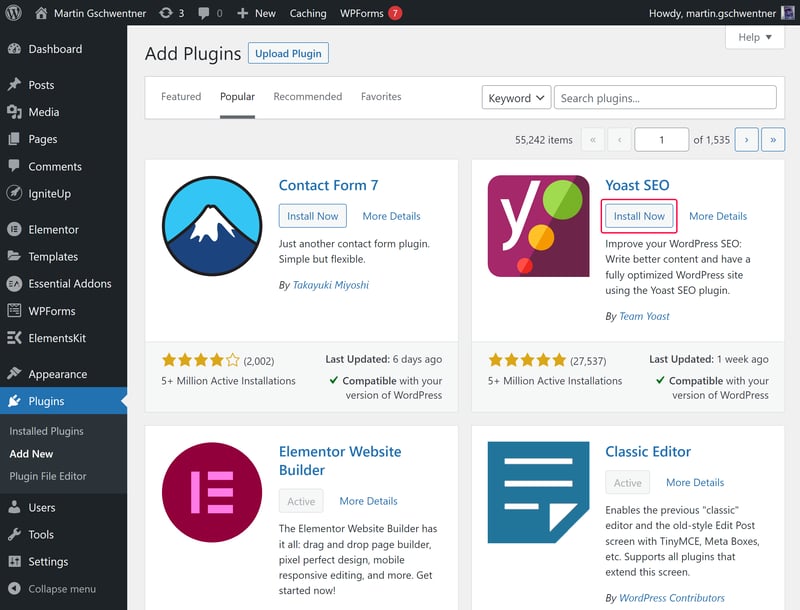
Find a plugin that you'd like to add to your WordPress dashboard and install it.
Step 5: Once installation is complete, click on the Activate button that should appear where the Install Now button was.
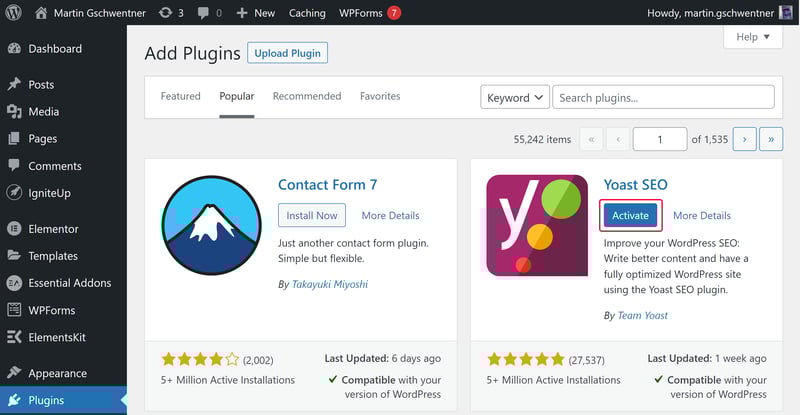
In order to use your new plugin, you'll have to activate it.
Congratulations: The plugin you've installed is now activated and can be found in your WordPress menu.
It's possible to review which plugins you've installed at any time in your WordPress dashboard's plugin area. For many plugins, a separate entry also appears in the main menu.
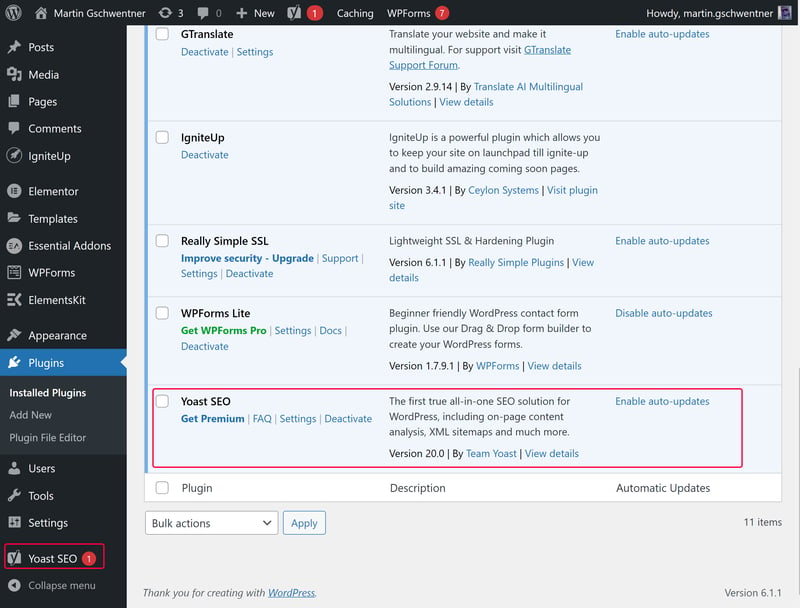
The desired plugin is now installed and ready for use.
Manually Install a WordPress Plugin via Zip File Upload (Easy)
Even though WordPress offers a huge selection of plugins in its app marketplace, it isn't the only source for them. Many third parties don't promote or sell their plugins through WordPress but, rather, on their own websites. When interested in one of these, you'll download a Zip file that needs to be uploaded to WordPress in order to be installed. But don't worry, this is easy to do.
Step 1: The first thing you'll need is a Zip file that contains the plugin you want to install. This can be downloaded directly from the developer's website or the plugin area of WordPress.org.
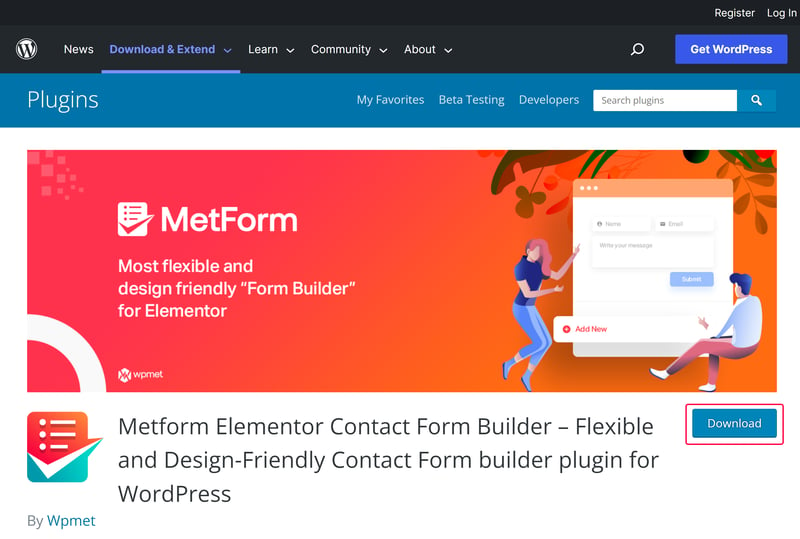
First, you'll need to download the Zip file that includes the desired plugin.
Step 2: Next, log in to your WordPress dashboard (as described in Step 1 of the previous method).
Step 3: Head to the dashboard's plugin area by clicking on the electrical plug icon in the menu to the left. At the top of the window that opens, click on the Upload Plugin button.
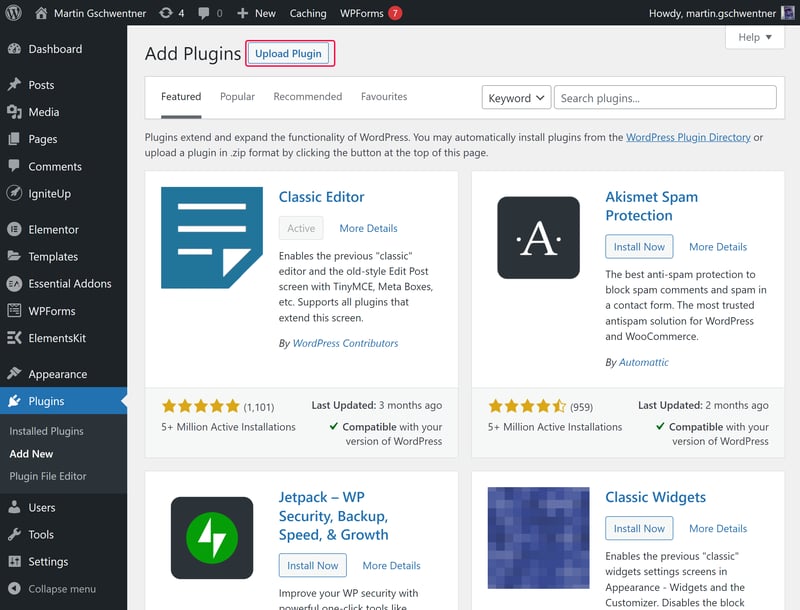
Here, you'll manually upload your plugin file.
Step 4: Click on the Choose File button and select the Zip file you'd like to upload. After that, click on the Install Now button.
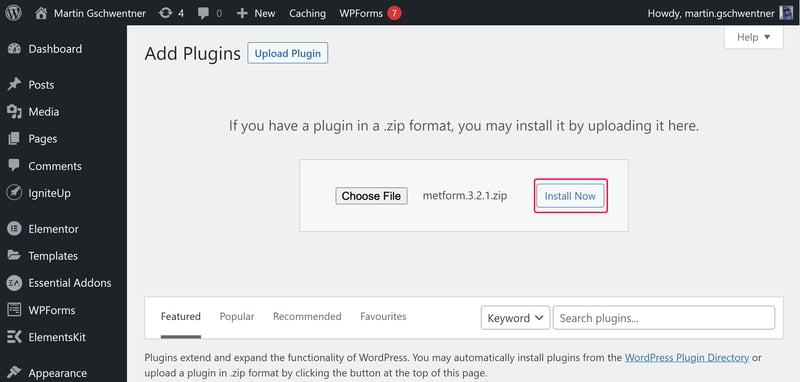
Upload your Zip file to install the plugin.
Step 5: Once installation is complete, an entry for the plugin should appear in your dashboard's plugin list. All that's left to do is to activate it.
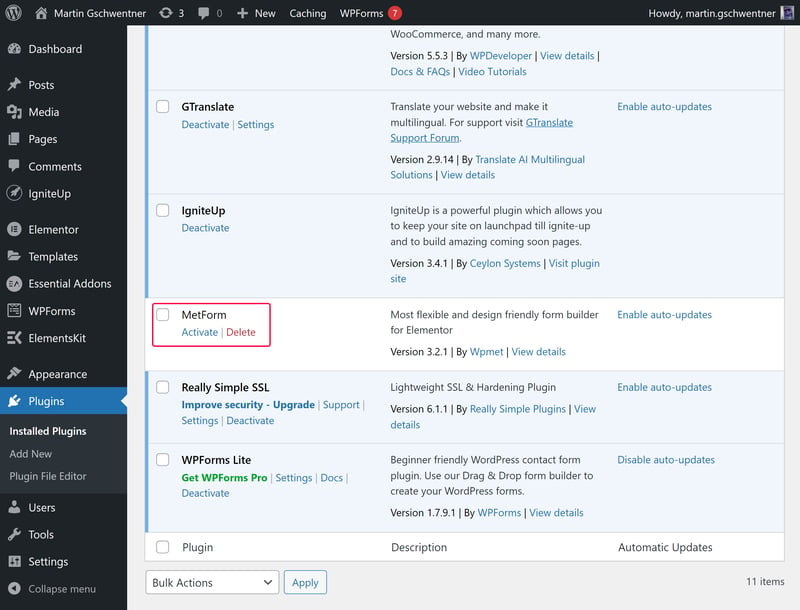
All you have to do now is activate the installed plugin.
Install a WordPress Plugin Using an FTP Client (Advanced)
Some WordPress plugins cannot be installed using the options provided by the CMS. There can be a number of reasons for this, but a common one is an issue with file permissions.
Should neither of the two methods detailed above have been successful, you can transfer the plugin to your web server using the file transfer protocol (FTP). To do this, you'll need an FTP client (such as FileZilla).
Note: How exactly to proceed from this point depends upon your FTP client and hosting provider.
Step 1: Download the Zip file for the plugin you'd like to add to WordPress and unzip/extract its contents to an empty folder.
Step 2: Install and open an FTP client.
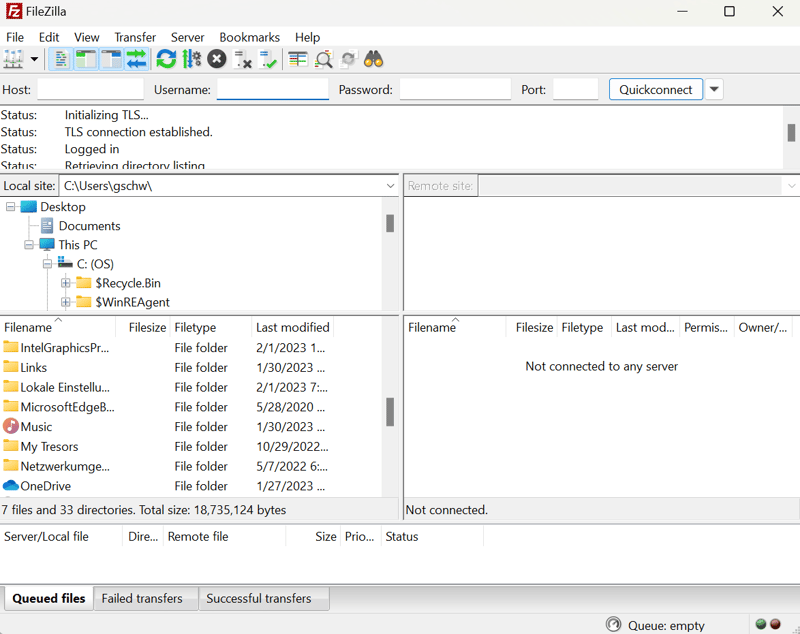
FileZilla is a popular and free FTP client.
Step 3: Create an FTP account. You'll need to get the login data for it from your hosting provider.
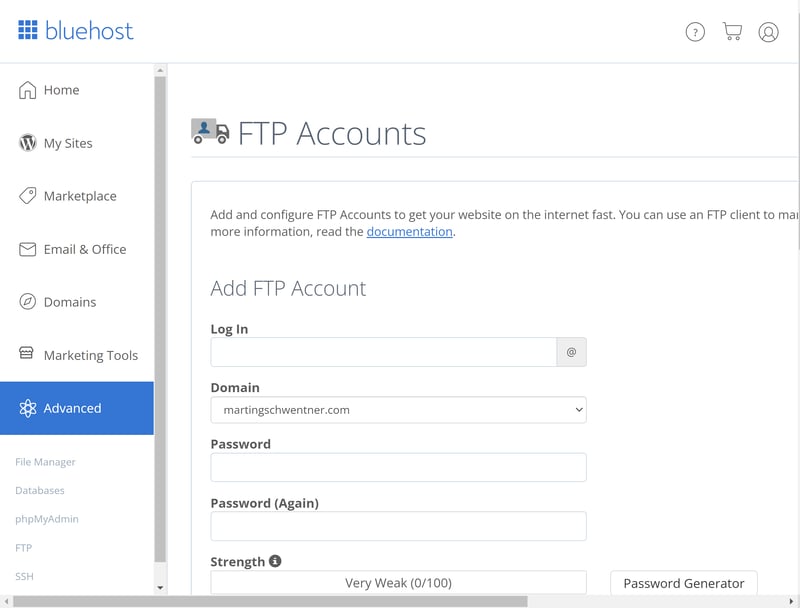
To get your FTP account data, contact your hosting provider.
Step 4: Once logged in to your FTP client, open the plugin list in WordPress by heading to /wp-content/plugins/. Here, you'll upload the folder that contains your unpacked plugin.
Step 5: If everything went according to plan, the plugin should now be visible in the plugin area of your WordPress dashboard. All you'll need to do now is activate it.
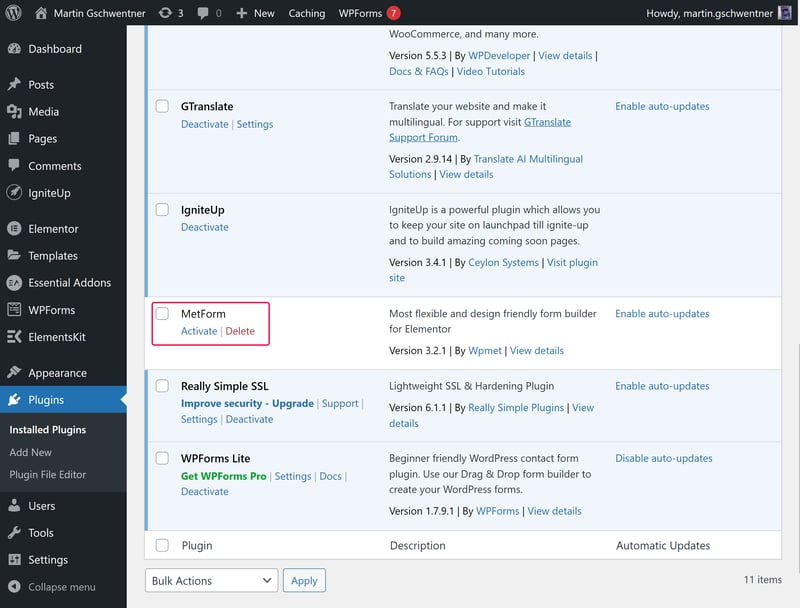
All that's left to do is activate the plugin you uploaded via FTP.
Conclusion
Plugins make WordPress as flexible as it is: There's something for almost every feature that users of the CMS could want. A number of these are free, while others are premium.
Free WordPress plugins can usually be installed directly in the dashboard with a few clicks. The same goes for premium options, which are generally installed by uploading the Zip file you downloaded after payment. In case neither of these options works, you can install an FTP client, like FileZilla, and manually transfer the plugin to WordPress, however, this option is more complicated.
Would you like to change how your WordPress website looks? With themes, you can, and installing them is just as simple.
FAQs
WordPress plugins are offered directly in the platform's dashboard by heading to Plugins > Add New. They are also available as Zip files on numerous websites (such as the plugin developer's homepage).
WordPress plugins are easily installed directly in your dashboard. Go to the plugin area of the menu on the left and click on Add New to access the plugin marketplace. Now, have a look around and select a plugin that you'd like to add to your website. Click on the Install Now button and then the Activate button once complete. Should you have downloaded a plugin Zip file, click on the Upload Plugin button and install it.
If you're unable to install a plugin, there can be several reasons. One possibility is that you don't have admin rights or that there is a file permission issue. Should the regular installation methods not work, try to install the plugin via FTP. For this, you'll need an FTP client, such as FileZilla, as well as FTP login data for your web server, which your hosting provider will give you.


